Categories
DIY

Century House: Gets a Microwave!!

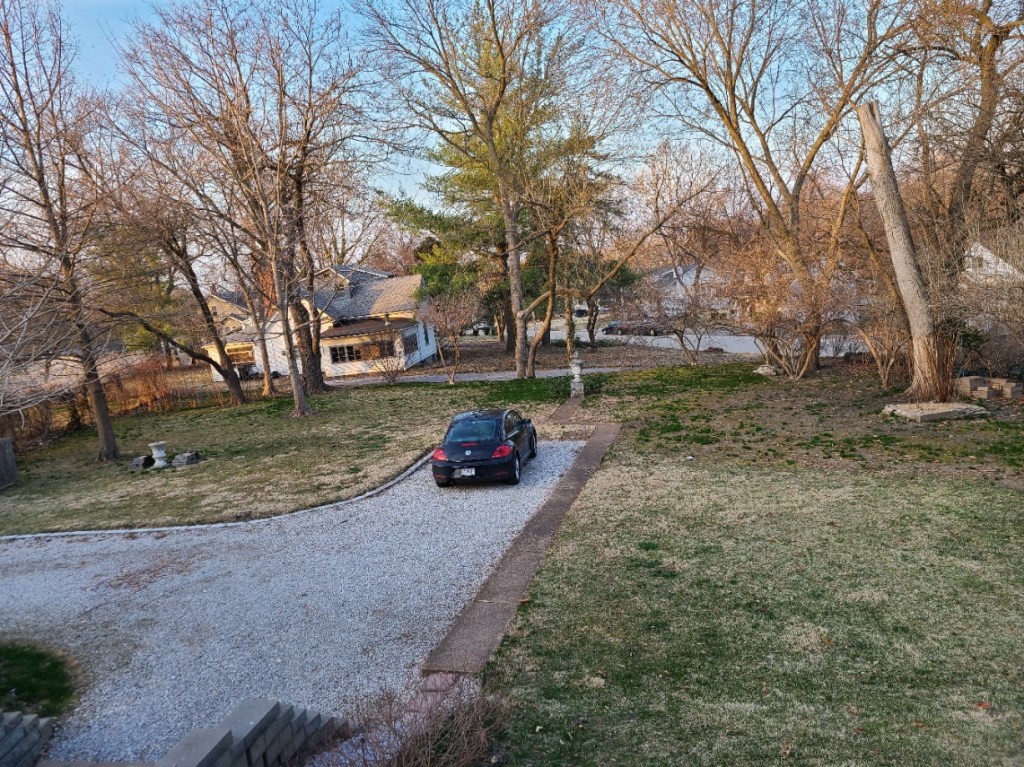
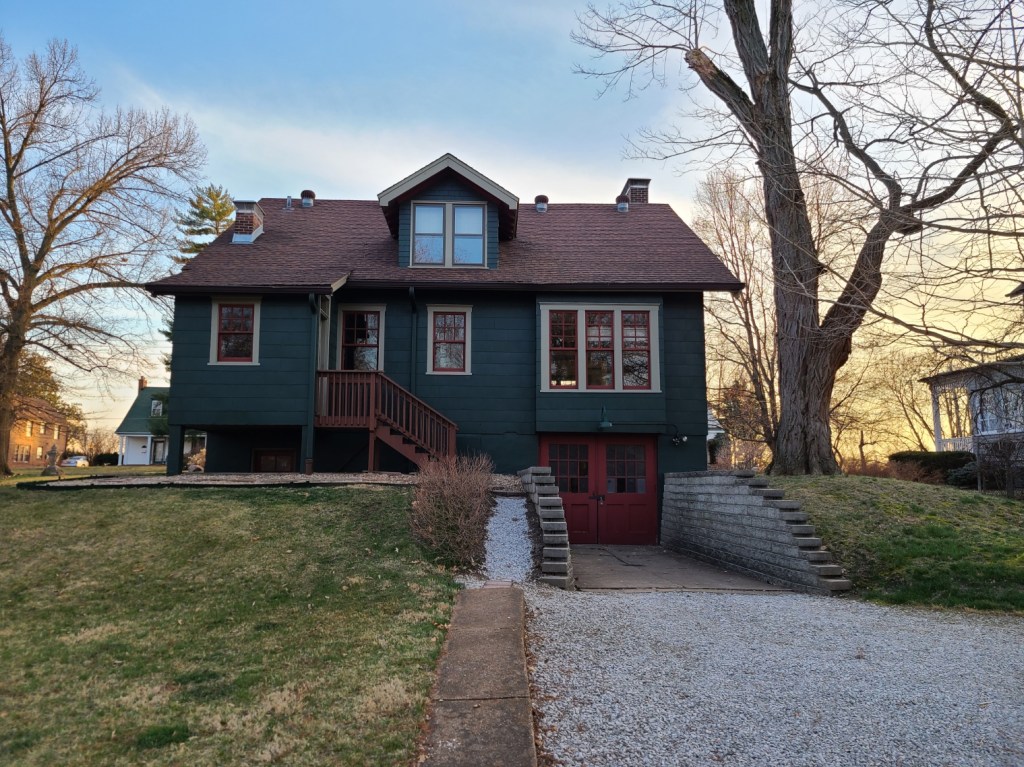
I have been away from the blog for a bit because of other activities. I’ve been busy, and there is only so much time in the day. I do have some writing in the works, but most of my time has been spent working on the house. We have been living here for a year and have made significant progress. Not enough to totally please the Goddess, yet enough to make it livable.

One of my projects was to mount the microwave oven in the kitchen. Leaving it sitting on the counter was never going to fly.

Our century house was never meant to have a big kitchen, which is sad. I am the cook and would love a well-laid-out kitchen. I will never have one in this house and have come to terms with that. However, I think we can still make our kitchen awesome until we can do a full remodel one of these days.

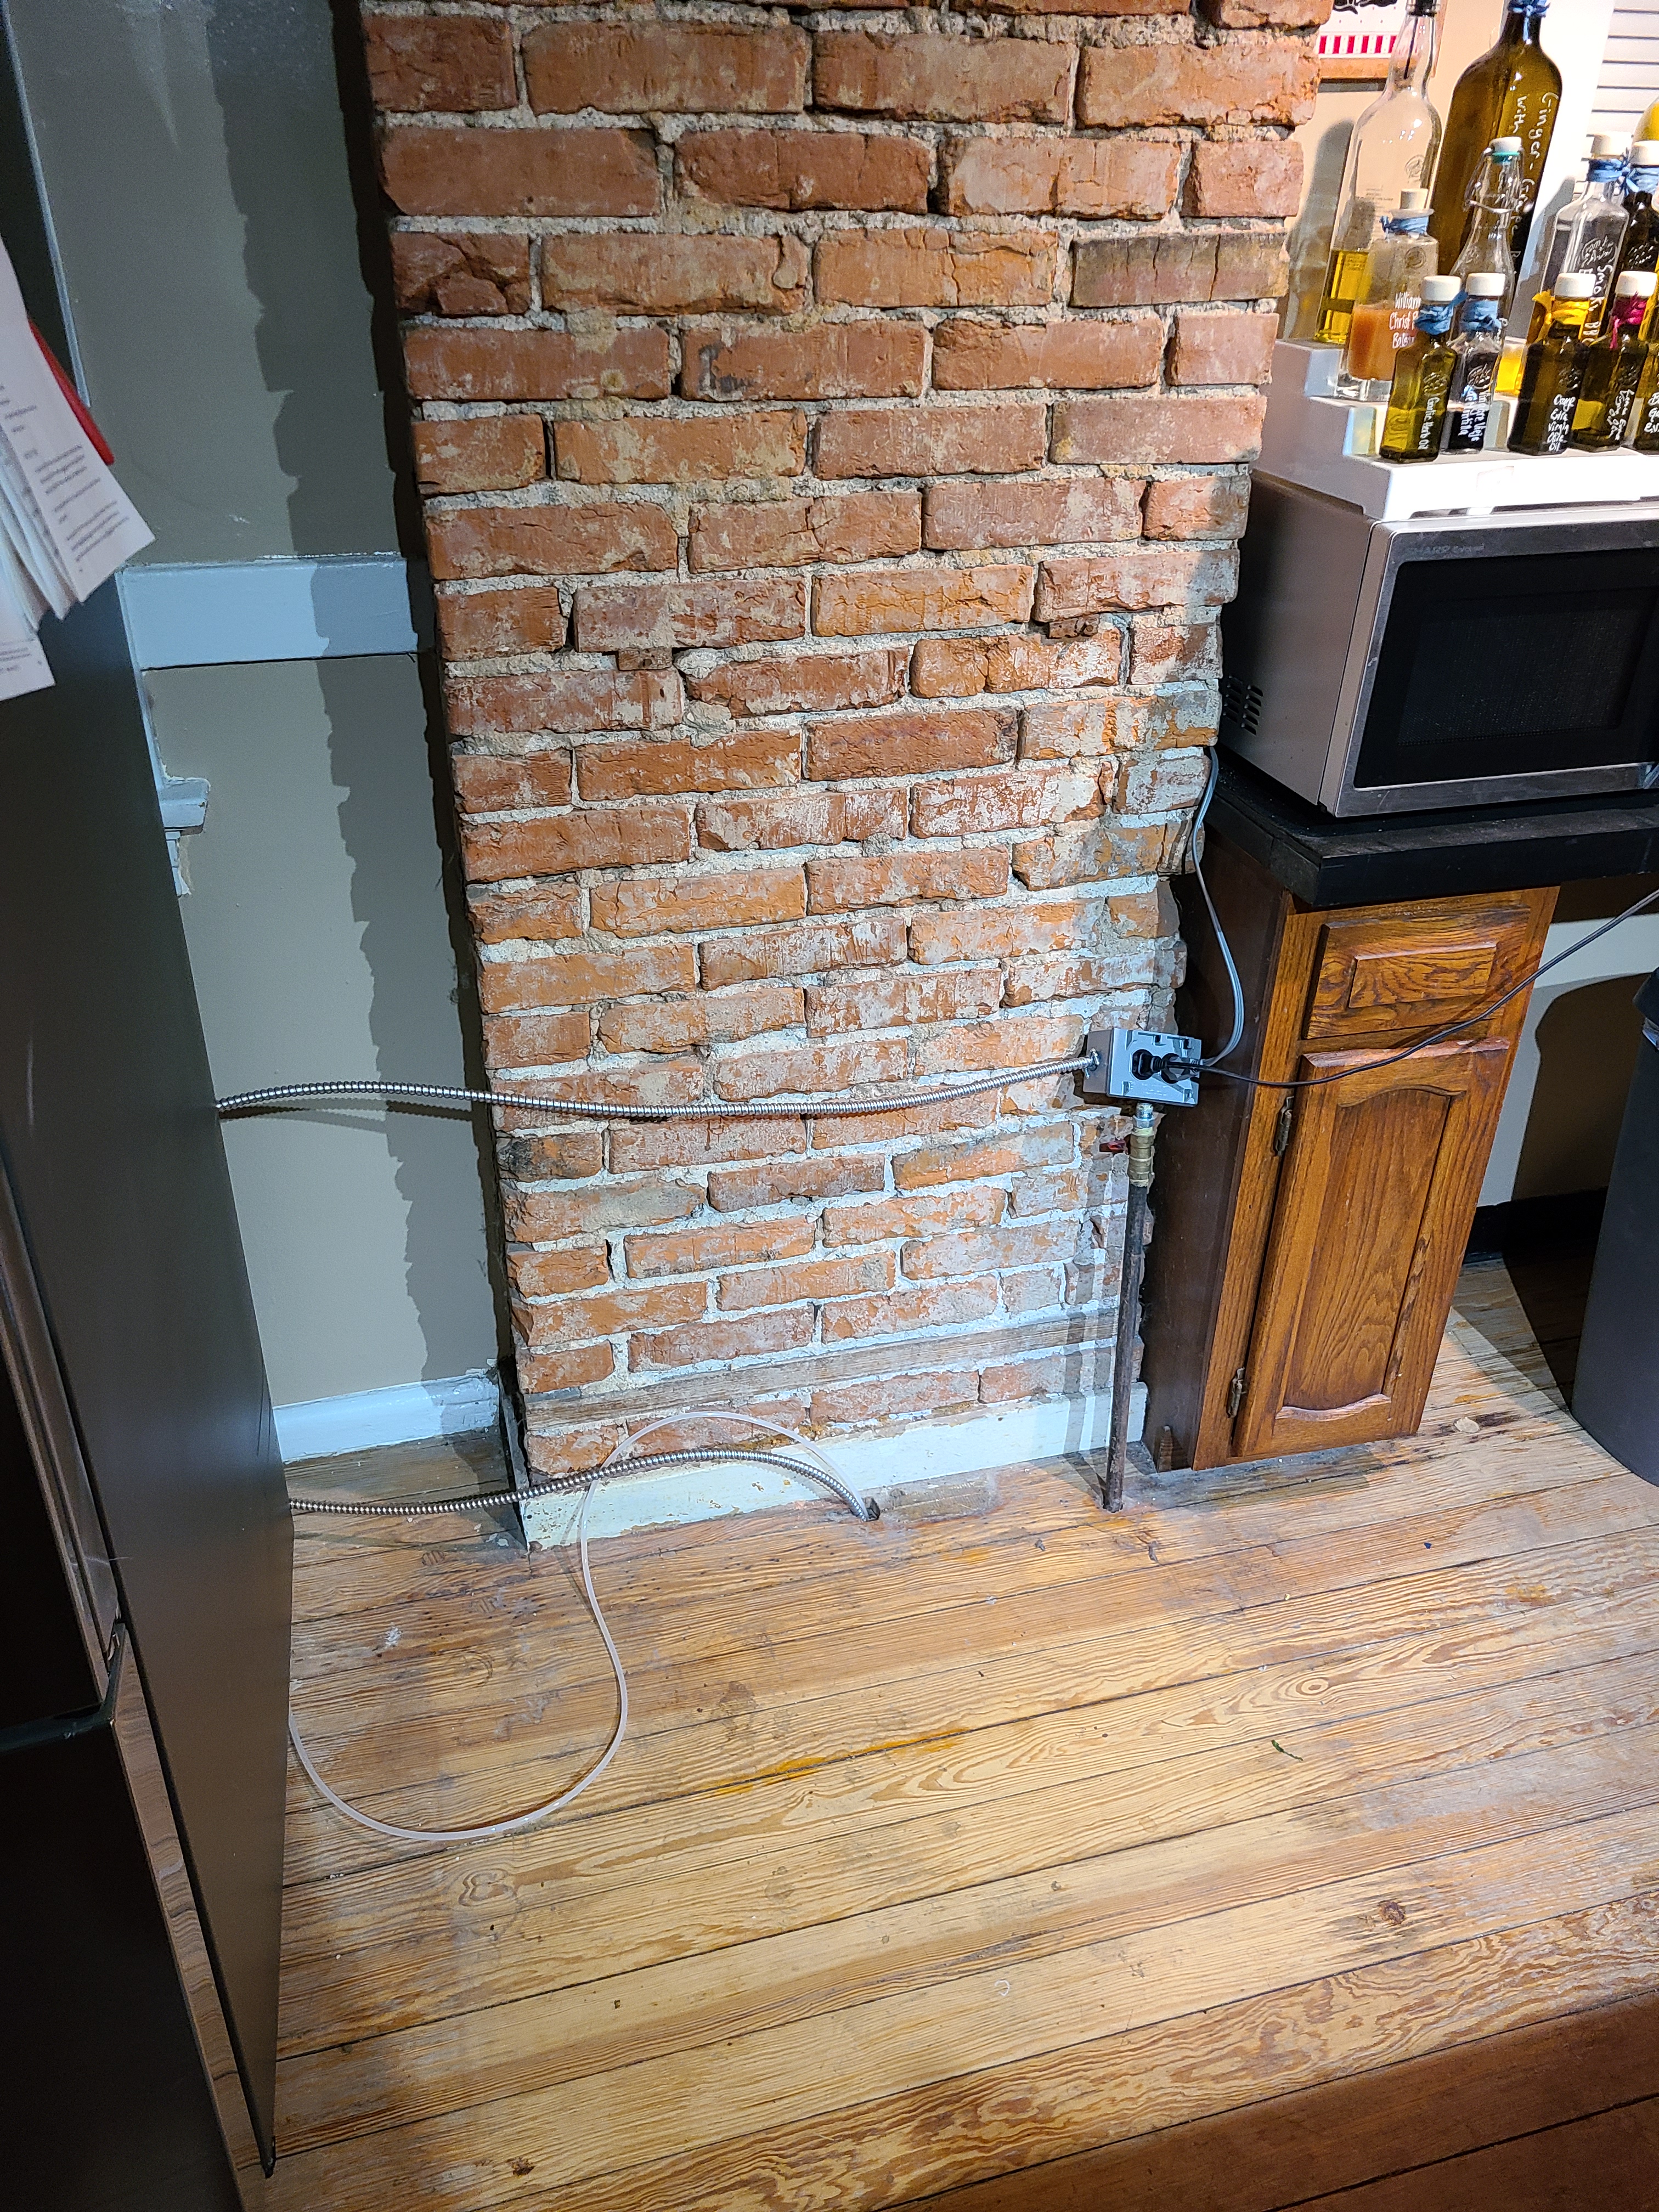
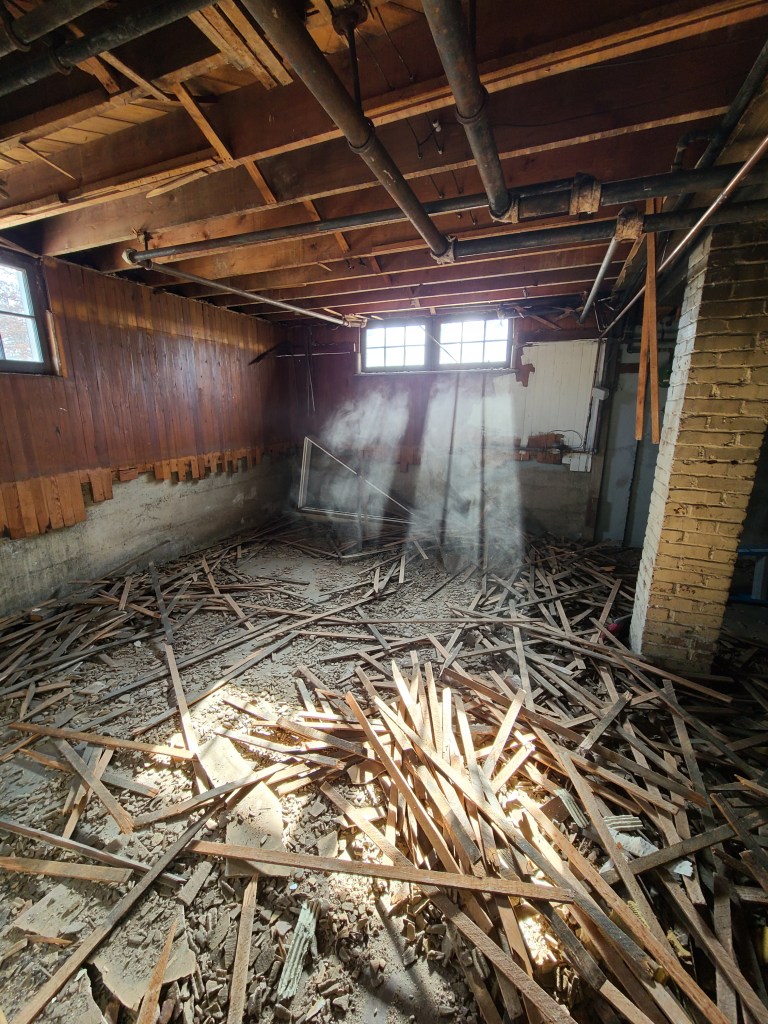
The room has an exposed chimney with bare brick, which looks cool as hell. But the mortar is beginning to crumble a little and we didn’t want to repair it because that would ruin the effect.

What’s better: new brickwork or 100-year-old brickwork?

My stove sits in front of the chimney, and I wanted to mount our big-ass microwave above it. This was a great plan but not an easily executed one. The chimney is beginning to crumble a little, and I didn’t want my microwave falling on anyone sometime in the future.

I approached this project as an engineer.

  1. There was no place for me to support the microwave from above; it would need to hang from the bricks alone.
  2. There were no commercial solutions that would fit my needs.
  3. I will have to create something!
    1. (Evil laugh while rubbing my hands together!)

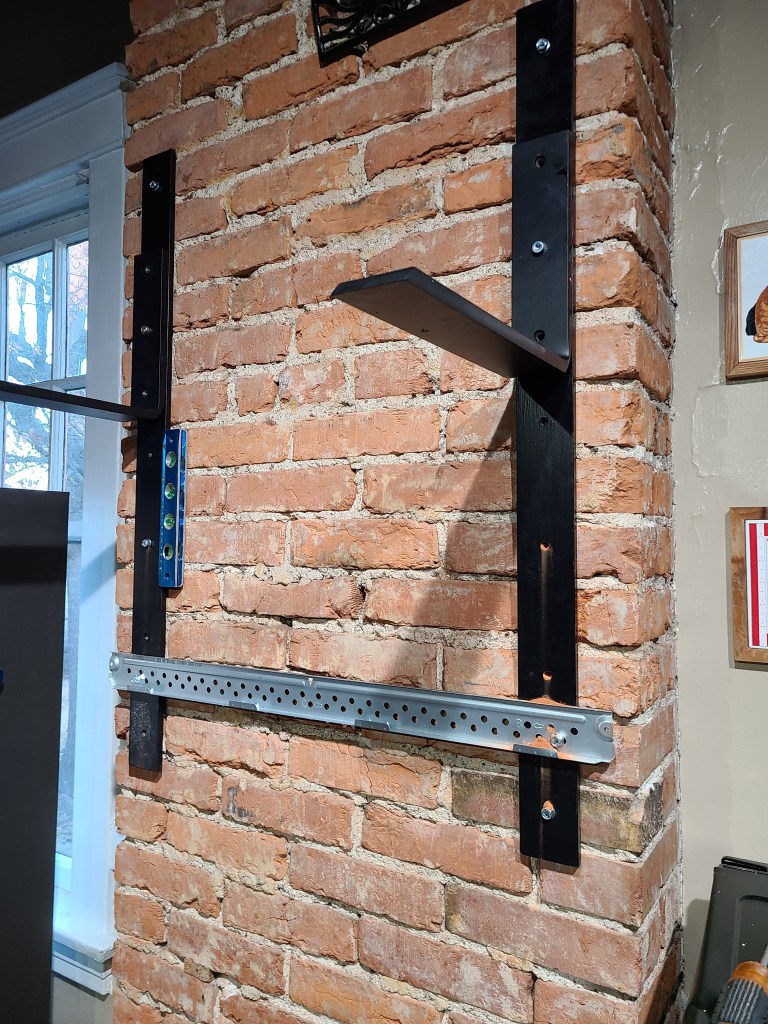
I purchased some heavy-duty countertop brackets used for marble counters. They were strong enough to support the microwave alone, but the bricks were not. I would need to provide much more of a connection to the chimney. To give the brackets something to connect to, I purchased some steel strips and drilled them to match the hole pattern of the brackets. I wanted plenty of connection points with the brick.

Old brick has a tendency to crack easily, which is BAD! And I also avoided drilling into the crumbly mortar, I couldn’t rely on it to hold over time. I carefully drilled into the bricks and used anchor bolts to attach the brackets to the wall.

Then together, we hung the microwave and pushed the stove back into place. I still need to vent the fan somehow – venting back into the room doesn’t really do much.

I think it looks amazing. I am very happy with the results.

And, of course, so is the Goddess!

Categories
Life

Cooking with WiFi!!

We have lived in the Century House for about three months now and have settled in very comfortably. However, we have been living without a cookstove. We sold the ancient one that came with the house because we knew we had one on the way – soon.  We wanted all new matching appliances and ordered them in January for a March delivery. Two and half months ought to be enough time to get them shipped from ‘wherever’, right?

This proved true for the most part. Everything was fine and in place by the first of April. However, I made the mistake of ordering a super special order stove with an oven that could be split into two, with dual controls. Along with this, my wife ordered a microwave with all the bells and whistles. You clearly see our cooking styles.

The Empty Spot in my Kitchen

The last two items, the stove and the microwave, did not show up on time. However, to add to the story, we were contacted several times to schedule deliveries that never materialized. The supplier both called and emailed us to schedule the delivery of our products but then didn’t show up at all. They were phantom deliveries. It was very frustrating.

Then the Suez canal blockage happened. The container ship Ever Given had run aground in the middle of the canal and blocked delivery of our stove. At least that was the story we were telling.  We don’t know the exact reason for the delay, but it worked well for laughs.

In the meantime, we have been getting by with a $75 microwave and a $25 electric griddle. We tried using our slow cooker to prepare meals ahead, but you know “SLOW COOKER” is not something we wanted to use daily. Instead, we got very comfortable with our griddle and had lots of eggs, salmon burgers, and fish fillets. All of which was fine and tasty, but I really missed a good fried egg or a stir fry or even mac-n-cheese.

$25 worth of saddness!!

Soon after we moved in, we had a technician in the house installing our security system. The control panel is in the kitchen opposite the stove – or where the stove is supposed to be. He had been at it for about thirty minutes before he finally looked up and asked: “Where’s your stove?” It took him that long to notice the odd empty spot in our kitchen.

I found it difficult to adjust to cooking on an electric griddle. I love to cook, and cutting a bunch of vegetables into a stew or a stirfry is very relaxing for me. But cooking on a griddle doesn’t require much for cutting. It was all fish fillets, chicken breasts, and patties with lots of salads. The ‘cooking’ part of cooking was a sad shadow of what I liked to do. I’m sure I could have gotten used to the griddle and eventually felt creative enough to do something interesting with it, but thankfully that time was avoided.

We have a stove! It’s a Samsung gas range with an oven that can be split into two and controlled separately. It also includes an air fryer option that I am particularly excited about. My wife wants me to make wings in the worst way, but I guess there is a chicken wing shortage or something. She was unwilling to trade an arm and a leg for wings. So, that will have to wait.

I am excited about the high-powered burner on the cooktop. It is meant for cooking with a wok. My wok is my favorite pan to use. I make a lot of stir fry and curries and similar recipes.

This is the first cookstove I’ve purchased new, and there is a huge big technology jump in this range compared to what I’m used to.  I can control the oven from my phone! Which is ridiculous! I have never once thought: Damn… if only I could turn the oven on from the mall. I personally can’t see the use of this feature. My wife has offered different scenarios to justify it. Still, none of them ring true or reasonable or an event that would happen more than once in a lifetime. However, my phone is now synced with my stove, and I’m going to dream up some weirdly unlikely situation where I will just have to use it.

Frickin’ WIFI!!!

What is the first thing I cooked on my new stove, you ask? Was it chicken marsala? Or a stir fry or a nice spicy curry (YUM!!) or some other fancy or difficult or iconic meal that would inaugurate my new stove in style. No… That is definitely not my style. Simple cooking is the best cooking. I made fried eggs, sausage, and toast. And it was glorious. I never got the hang of cooking eggs on the griddle. They were never quite right.

Categories
DIY

Century House 6: Basement Floor Install

Our hundred year old basement has really good concrete. The floors are still crack-free and flat and the walls don’t show any sag or bowing. However, we don’t know how dry the basement has been in the past, so we decided to be safe and chose a waterproof laminate flooring for the main area. It is an engineered laminate that is designed to snap together. My initial plan was to do the whole floor in the TV/bar area in one go. But it turned out that my floor didn’t meet the exact requirements. The laminate requires a very flat and even floor. I poopooed this as over-specifying and felt that I could make it work on my sort of flat hundred year old concrete. I can admit that I was wrong. I failed to take into account that the basement has two floor drains and nice gradual slopes leading to each.

I found that there was not enough play in the joints of the laminate to allow for the slight curve of the slope. I was forced to limit the laminate to the large open areas in the center of the room. My altered plan had me putting down laminate in the main room and a portion of the guest room. Behind the bar I will put down a nice tile and on the sloped sections around the drains will be creating a mosaic with small 2″ tiles. The colors of the materials are similar and I think it will look nice in the end.

I didn’t want to put the laminate directly onto the concrete because of moisture gassing up through the concrete and other possible seepage in the future. I installed a dimpled underlayment that raised the laminate about 3/8″ and provided a vapor gap under the flooring. I will be keeping the drains in the floor. I have hot water heat, a boiler and lots of pipes in the ceiling of the room. I want easy access to the drains for any moisture that accumulates.

I did a lot of research before installing the underlayment and laminate. I wanted to do this myself, do it right, and do it once. So I was not going to rush into anything.

First, I filled in the joints in the floor with some left over hydraulic cement to provide a smooth flat surface for the floor. Any defects, dips or grooves in the concrete would be translated to the floor above it. Next, I put down the underlayment leaving a gap along the walls. This was all done in a weekend. I then put the laminate down during the week, working a couple of hours a night. It took some practice and some mistakes to get the engineered laminate to go together consistently, it is very brittle and the joints break easily.

Also, because the joints are so tight with very very little give, any joint that isn’t perfectly tamped together will build up and become a problem several rows later. So, rather than being perfectly straight and flat, the floor develops a hump or slight curve that you can’t easily correct. As I said, it took some time and mistakes to get it right, but I completed it in the end and it looks great. There were some harsh words and thrown tools, but this DIY Engineer triumphed in the end. But I also want to say that I will NEVER do this again! I will also not recommend this flooring. I should have just tiled the entire floor. I suspect I will be replacing this floor in about five years. I’m not a fan.

Categories
DIY

Century House 5: Basement Walls

The remodel of the basement has progressed well. Once it was gutted, cleaned up, and the walls sealed I felt that I need to add a little insulation to the walls to prevent the rooms from getting that clammy basement feel. I used a half inch thick aluminum clad insulation that is commonly used for garage doors.

For the framing, I am fortunate to have an 8ft basement ceiling! This meant that I didn’t have to cut any of those uprights. I used treated lumber for the bottom plates and anchored them to the floor, with the headers attached to the floor joists to keep it all plumb.

This basement is a century old and actually looks great. However, I found that the walls did bulge a little. Getting everything plumb required a some adjustments and a small amount of rework and cursing, but it all turned out in the end.

Now, I did the framing myself. Meaning – by myself – me and my new Dewalt impact-driver. I had a good time, but ended up with tennis-elbow or something. My gripping elbow is killing me. My guess is tendonitis and I’ve got ice and a compression sleeve on it. No one every warned be about that kind of injury.

This project has now cured me of any desire to do drywall. I’ve done some in the past, but not in a while. I now have a hatred for drywall. Our mantra for this project has become: ‘Never again.’ This is honestly our last project house. We just need to finish it.

Our plan is to leave all the pipes in the basement exposed and create a steam-punk or old industrial theme. The water main comes through the wall in our TV room and I didn’t want to cover it. So, I did some creative framing around it. I think it turned out pretty good. Later, I want to cover it with a perforated brass grill with some mood lighting behind it. That will be later.

Next Post: Laminate flooring!!

Categories
DIY

Century House 4: New Kitchen Paint and Drywalling the Basement

The last two weeks have been very busy at the century house. So busy in fact that I’ve neglected to post anything. Sorry.

So Sheri has been busy taping and painting the kitchen and my office. She really hates painting, but since she can’t frame walls or lay flooring she gets to paint. I even volunteered to paint my own damn office, yet she ended up doing that too. The kitchen turned out great. We happen to like accent walls and went with a dark red called Sangria for the kitchen. The remaining walls are painted light brown Mocha. Honestly, this was a unconscious coincidence. However, it works with the theme – a kitchen painted in wine and coffee colors – perfection!

We have also purchased a new kitchen island that we will be installing once all the new appliances are delivered. Next week!! Aaahh!

While Sheri was busy with that, I was framing in our new TV room and guest bedroom in the basement. The worst thing I ran into while framing was that some of the walls were bulged out in the middle. I think this was part of the original pour but had to account for it when anchoring the base runners. The walls are pretty close to level all around now. There are a lot of pipes and windows in the basement that required some fancy framing around them that I will highlight in another post. That was the fun part.

However, I personally hate installing drywall and grumbled though this part of the project. I keep telling myself that this is the last time. This is my last house remodel. Seriously.

But I have a good start on the drywall now and have started planning the flooring for the rooms. This is where I ran into a major issue. We intended to put down wood laminate throughout the basement. However, I found that there was too much slope around the drains. It is a very nicely done poured floor that gently slopes down to drains in two places. However, there is a three inch difference between the outside wall and the main drain – the one in the bedroom. The laminate will work with small variations in the floor but that is way too much. We will still use the laminate for the center of the main room and most of the bedroom while we look for other options for the area where the slope is the worst. I’m leaning toward ceramic tile and a mosaic around the drain. I have my eye set on a very nice rusted steel-look tile for the bar area and a small brick-like tile for the drain area that I can place individually to create the mosaic look that I want.

The biggest problem in making any of the flooring work is drainage. We have hundred year old walls that weep a little. We also have a boiler system that has the potential for leaking. Meaning we have to leave the drains alone and provide unobstructed access for the any water. To accomplish this, I will be using an underlayment beneath the laminate that provides both a vapor barrier and drainage for any water that leaks in. But… I have a bit of research to do before I can really be sure of my plan. Lucky for me there are ambitious DIYers like myself that have already made the mistakes. I am on a few forums and sites dedicated to DIYers that have provided good sound advice so far and I will be looking through there over the next week before I actually do any floor work.

We are only three weeks away from moving into out new home and are in a rush to get everything done. I won’t have the basement completed as planned but I will have most of it useable. The bar and the bathroom will have to be finished later. I am also adding a laundry room on the second floor and will need to step away from the basement to get that roughed in. The new washer and dryer are being delivered next week and need to be functional from day one.

I have a very very busy three weeks coming up to make the house workable. We are very excited to move in and be done with the daily commute we make to work on the house. It will be nice to be right there to work on things and then have the option of just going up to bed, rather than needing to cleanup and drive across town every night.

Our heart is already in our new home, we just have to rest of us there.

Categories
Life

Century House: Demolition 2021

Our one hundred year old house had a finished basement at several points in its history. The latest iteration included a dropped ceiling, a 3/4 bath and even an Oakland Raiders room sometime after 2016. However, at the time of our purchase it was moldy, damaged and partly gutted. Our project over the last two weeks has been to remove the ceiling and Raider room.

We discovered that the original century-old plaster and lath ceiling was still extant but hidden by the dropped ceiling. Someone had added the dropped ceiling to cover up the heating and plumbing pipes. But it also lowered the ceiling of the room by 18 inches. Removing it will give us a basement with an 8 foot ceiling! We also revealed the knob and tube wiring that still powers the house. Some of it had been added after the original ceiling was installed. There were wires running all over, many that no longer connected to anything.

Our biggest surprise was to discover that we had asbestos pipe insulation on our hot water heating pipes. This detail was not mentioned in the sellers documentation. However, instead of being upset about it, I just removed it. We suited up and pulled it out.

We then pulled all of the plaster and lathe ceiling work down, along with 100 years of dust. It was seriously nasty work. I wanted it all down in one weekend so we could be done with it. The three of us tackled it and got it completely pulled down. A dumpster will be delivered this week and we will spend next week loading it up.

Our new basement will have an industrial theme with a little steampunk bar area. All of the pipes and wires will be exposed and I’m leaving the ceiling bare up to the joists and subflooring above. It’s going to be cool. Trust me.

Inspiration, Finance Manager, and General Labor

Categories
Life

Mystery House

My wife and I are looking for an old house to rebuild and found a 120 year old Queen Anne style house that needs some extreme love. We were able to crawl into the house by way of the fallen back wall. A newer addition had fallen and dragged down the rear wall of the kitchen. The rest of the house is in amazing shape. But what really surprised me were the belongings still in the house.

When people move out, even in a hurry, they take the important stuff like the good furniture, the family pictures, records, and books. But this house still contained good antique furniture filled with dishes and knickknacks, pictures of the family still on the wall, books, records, old bills, closets with clothes still on hangers. It was eerie, to say the least. In the front room was a hospital bed along with a cot in the adjacent room. Some elderly person had been cared for here in…I look at the calendar on the wall…2005. It all seemed much older than that.

But for some reason, they had left almost everything behind. There are personal photos in every room.

The creepiest thing I discovered was in the basement. A room deep in the dank dark dusty basement had been painted pumpkin orange. The rest of the basement was full of discarded furniture, clothes, and other belongings. But this room had been cleaned out and held an old single bed, a small table and single chair. It appeared to have been abandoned at the same time as the rest of the house. It just made me wonder what the family life was like that they would not only live like this but leave it in such a hurry.

In my experience when someone dies, the remaining family sorts through their belongings and disposes of the house and anything they don’t find a home for. But in this case, it was almost as if they simply walked away.

We are seriously considering buying the house as a project, a last home for us. If we do, I want to include pieces of the previous owners as mementos. Yes, that’s kind of weird, but I think there is some mystery to the house, and playing with it could be fun.

“Who’s that in the picture in the corner?”

“We have no idea. It came with the house,” I say with a smirk.

“What’s with Orange Room in the basement?”

“What Orange Room?” I say mysteriously.

Regardless of whether we end up taking the house or not, I got some pretty cool ideas for stories out of the process.