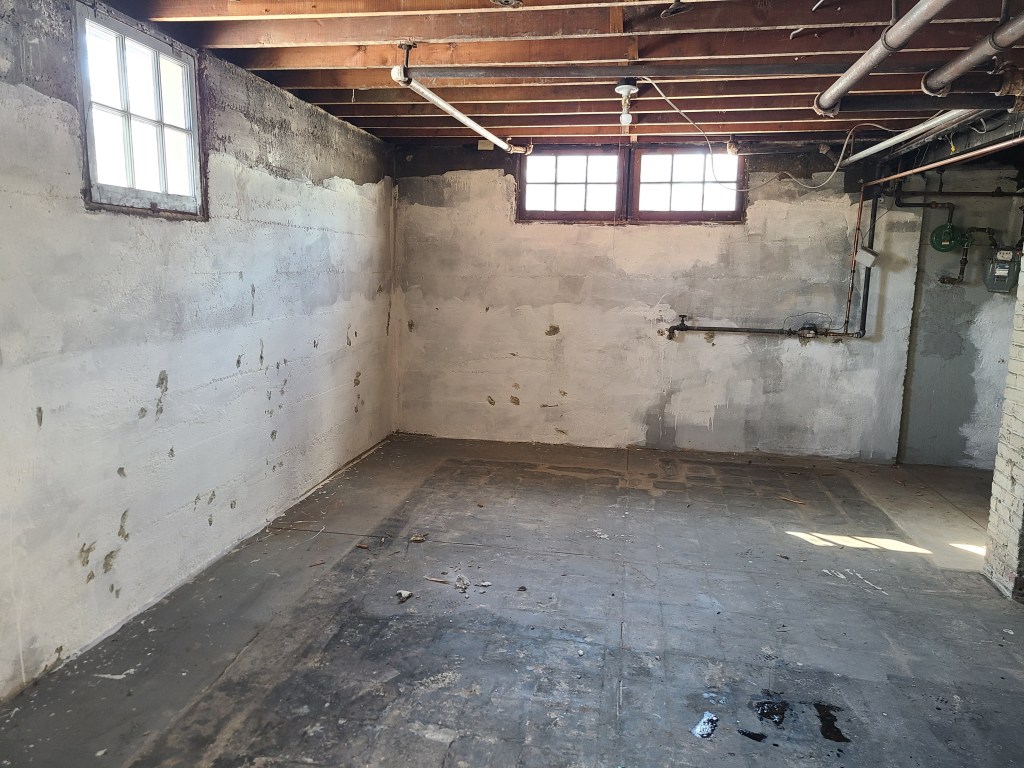
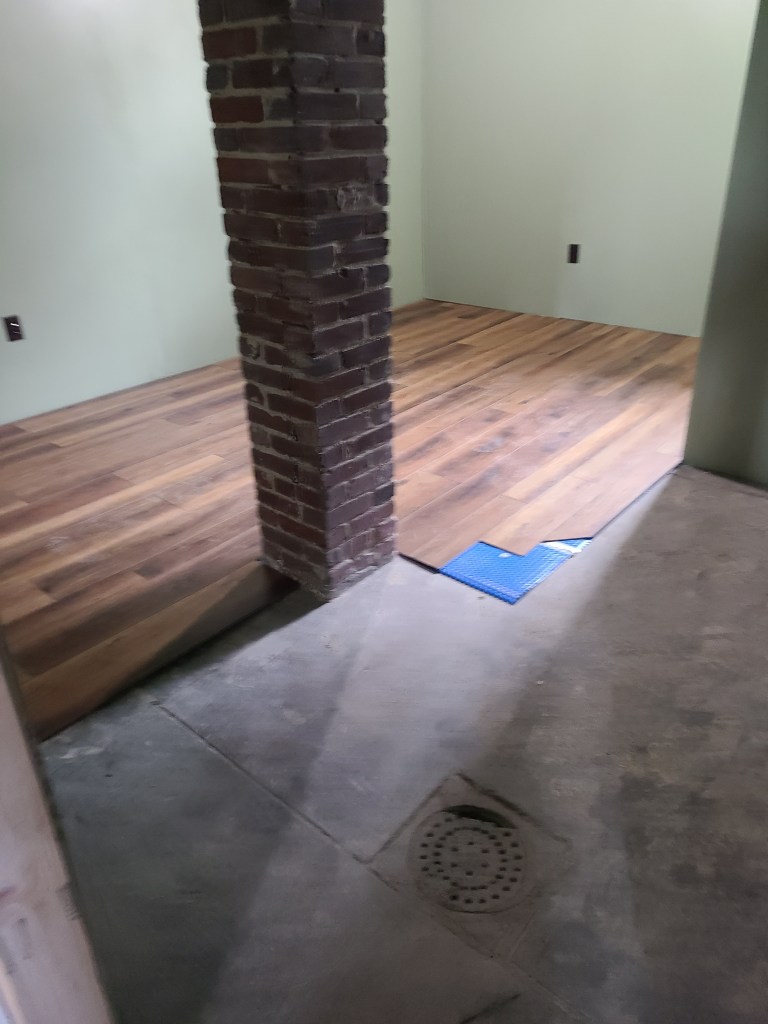
Our hundred year old basement has really good concrete. The floors are still crack-free and flat and the walls don’t show any sag or bowing. However, we don’t know how dry the basement has been in the past, so we decided to be safe and chose a waterproof laminate flooring for the main area. It is an engineered laminate that is designed to snap together. My initial plan was to do the whole floor in the TV/bar area in one go. But it turned out that my floor didn’t meet the exact requirements. The laminate requires a very flat and even floor. I poopooed this as over-specifying and felt that I could make it work on my sort of flat hundred year old concrete. I can admit that I was wrong. I failed to take into account that the basement has two floor drains and nice gradual slopes leading to each.


I found that there was not enough play in the joints of the laminate to allow for the slight curve of the slope. I was forced to limit the laminate to the large open areas in the center of the room. My altered plan had me putting down laminate in the main room and a portion of the guest room. Behind the bar I will put down a nice tile and on the sloped sections around the drains will be creating a mosaic with small 2″ tiles. The colors of the materials are similar and I think it will look nice in the end.
I didn’t want to put the laminate directly onto the concrete because of moisture gassing up through the concrete and other possible seepage in the future. I installed a dimpled underlayment that raised the laminate about 3/8″ and provided a vapor gap under the flooring. I will be keeping the drains in the floor. I have hot water heat, a boiler and lots of pipes in the ceiling of the room. I want easy access to the drains for any moisture that accumulates.
I did a lot of research before installing the underlayment and laminate. I wanted to do this myself, do it right, and do it once. So I was not going to rush into anything.
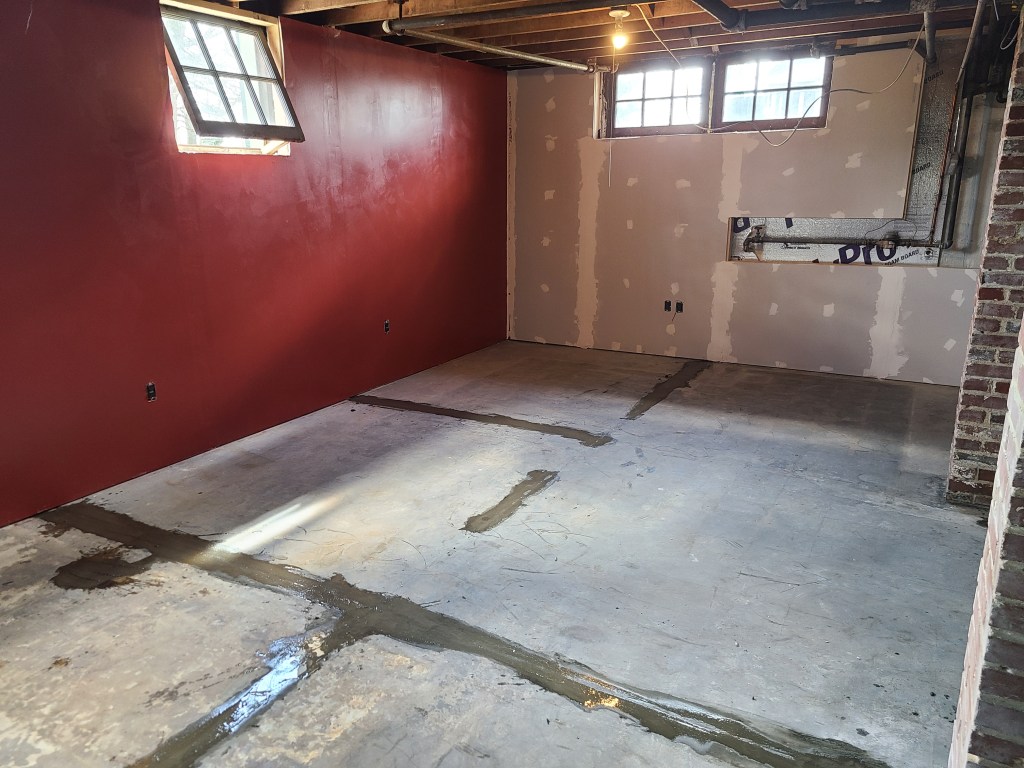
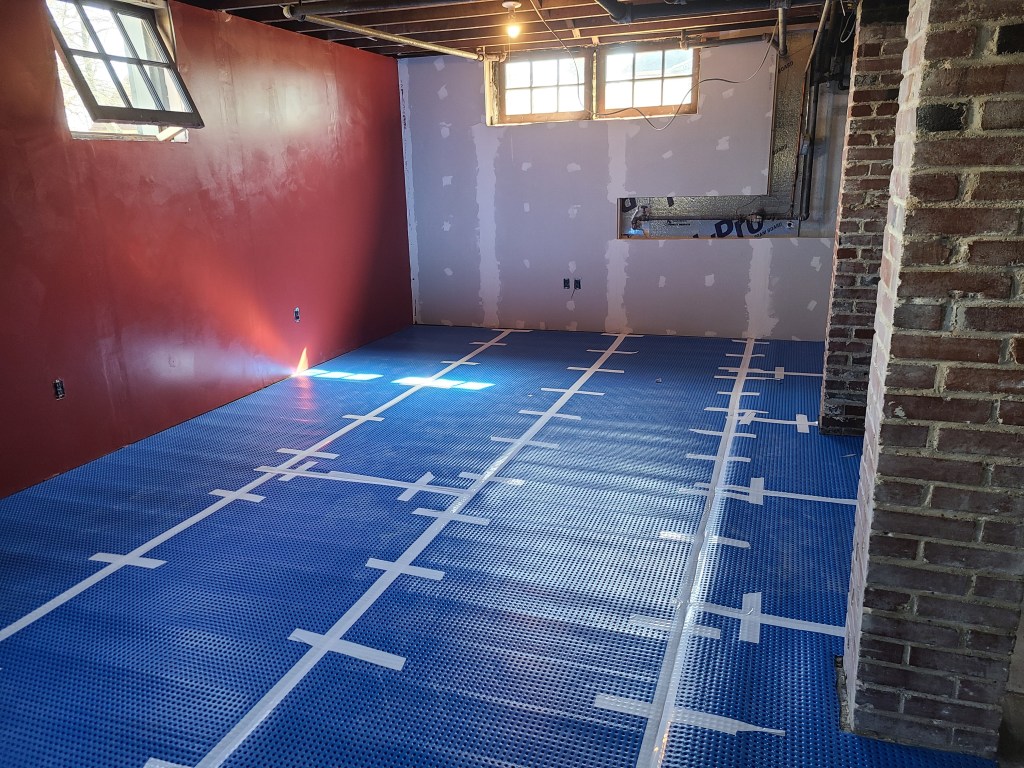

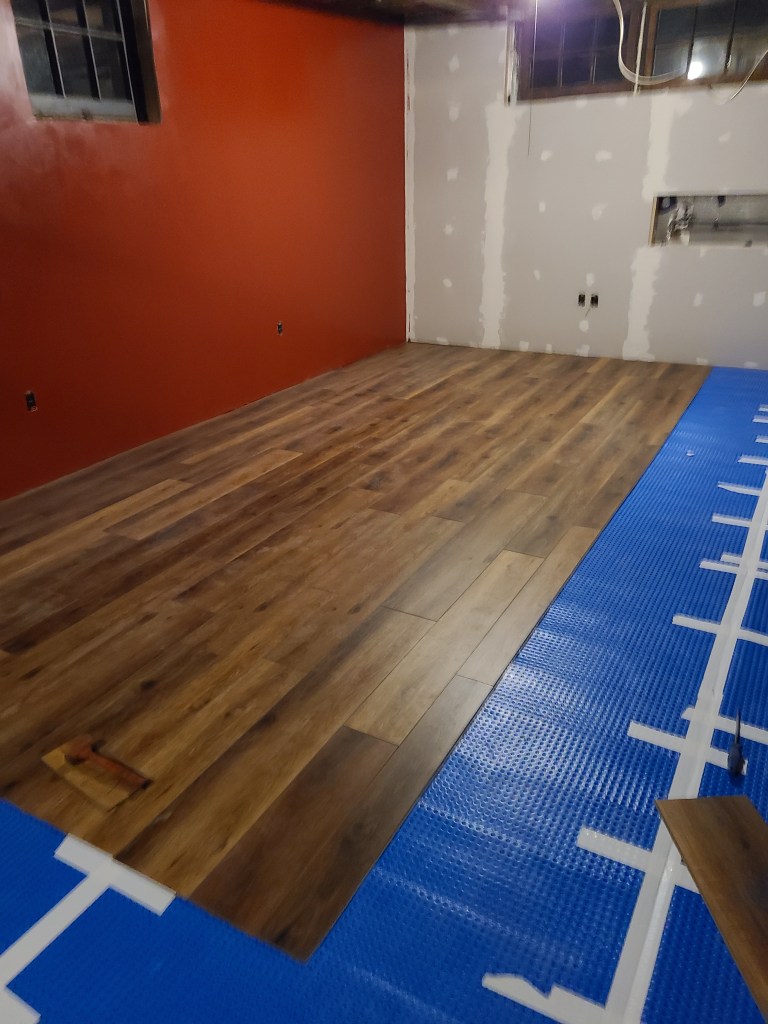

First, I filled in the joints in the floor with some left over hydraulic cement to provide a smooth flat surface for the floor. Any defects, dips or grooves in the concrete would be translated to the floor above it. Next, I put down the underlayment leaving a gap along the walls. This was all done in a weekend. I then put the laminate down during the week, working a couple of hours a night. It took some practice and some mistakes to get the engineered laminate to go together consistently, it is very brittle and the joints break easily.
Also, because the joints are so tight with very very little give, any joint that isn’t perfectly tamped together will build up and become a problem several rows later. So, rather than being perfectly straight and flat, the floor develops a hump or slight curve that you can’t easily correct. As I said, it took some time and mistakes to get it right, but I completed it in the end and it looks great. There were some harsh words and thrown tools, but this DIY Engineer triumphed in the end. But I also want to say that I will NEVER do this again! I will also not recommend this flooring. I should have just tiled the entire floor. I suspect I will be replacing this floor in about five years. I’m not a fan.
